Why More Families Are Choosing Traeger Pellet Grills in Gresham, Oregon
Why More Families Are Choosing Traeger Pellet Grills in Gresham, Oregon
Outdoor cooking has come a long way, and few grills have changed the game like Traeger pellet grills. At Burns Feed Store in Gresham, Oregon, we’ve proudly helped customers upgrade their backyard cooking experience for more than 20 years as one of Oregon’s top-rated Traeger Platinum Dealers.
Whether you’re cooking family dinners, hosting weekend gatherings, heading to hunting camp, or feeding a crowd on game day, Traeger pellet grills offer a combination of flavor, convenience, and versatility that keeps customers coming back.
 What Makes Traeger Pellet Grills Different?
Unlike traditional charcoal or propane grills, Traeger pellet grills use all-natural hardwood pellets to create consistent heat and authentic wood-fired flavor. With precise temperature control and simple operation, they make it easy for both beginners and experienced grillers to achieve great results.
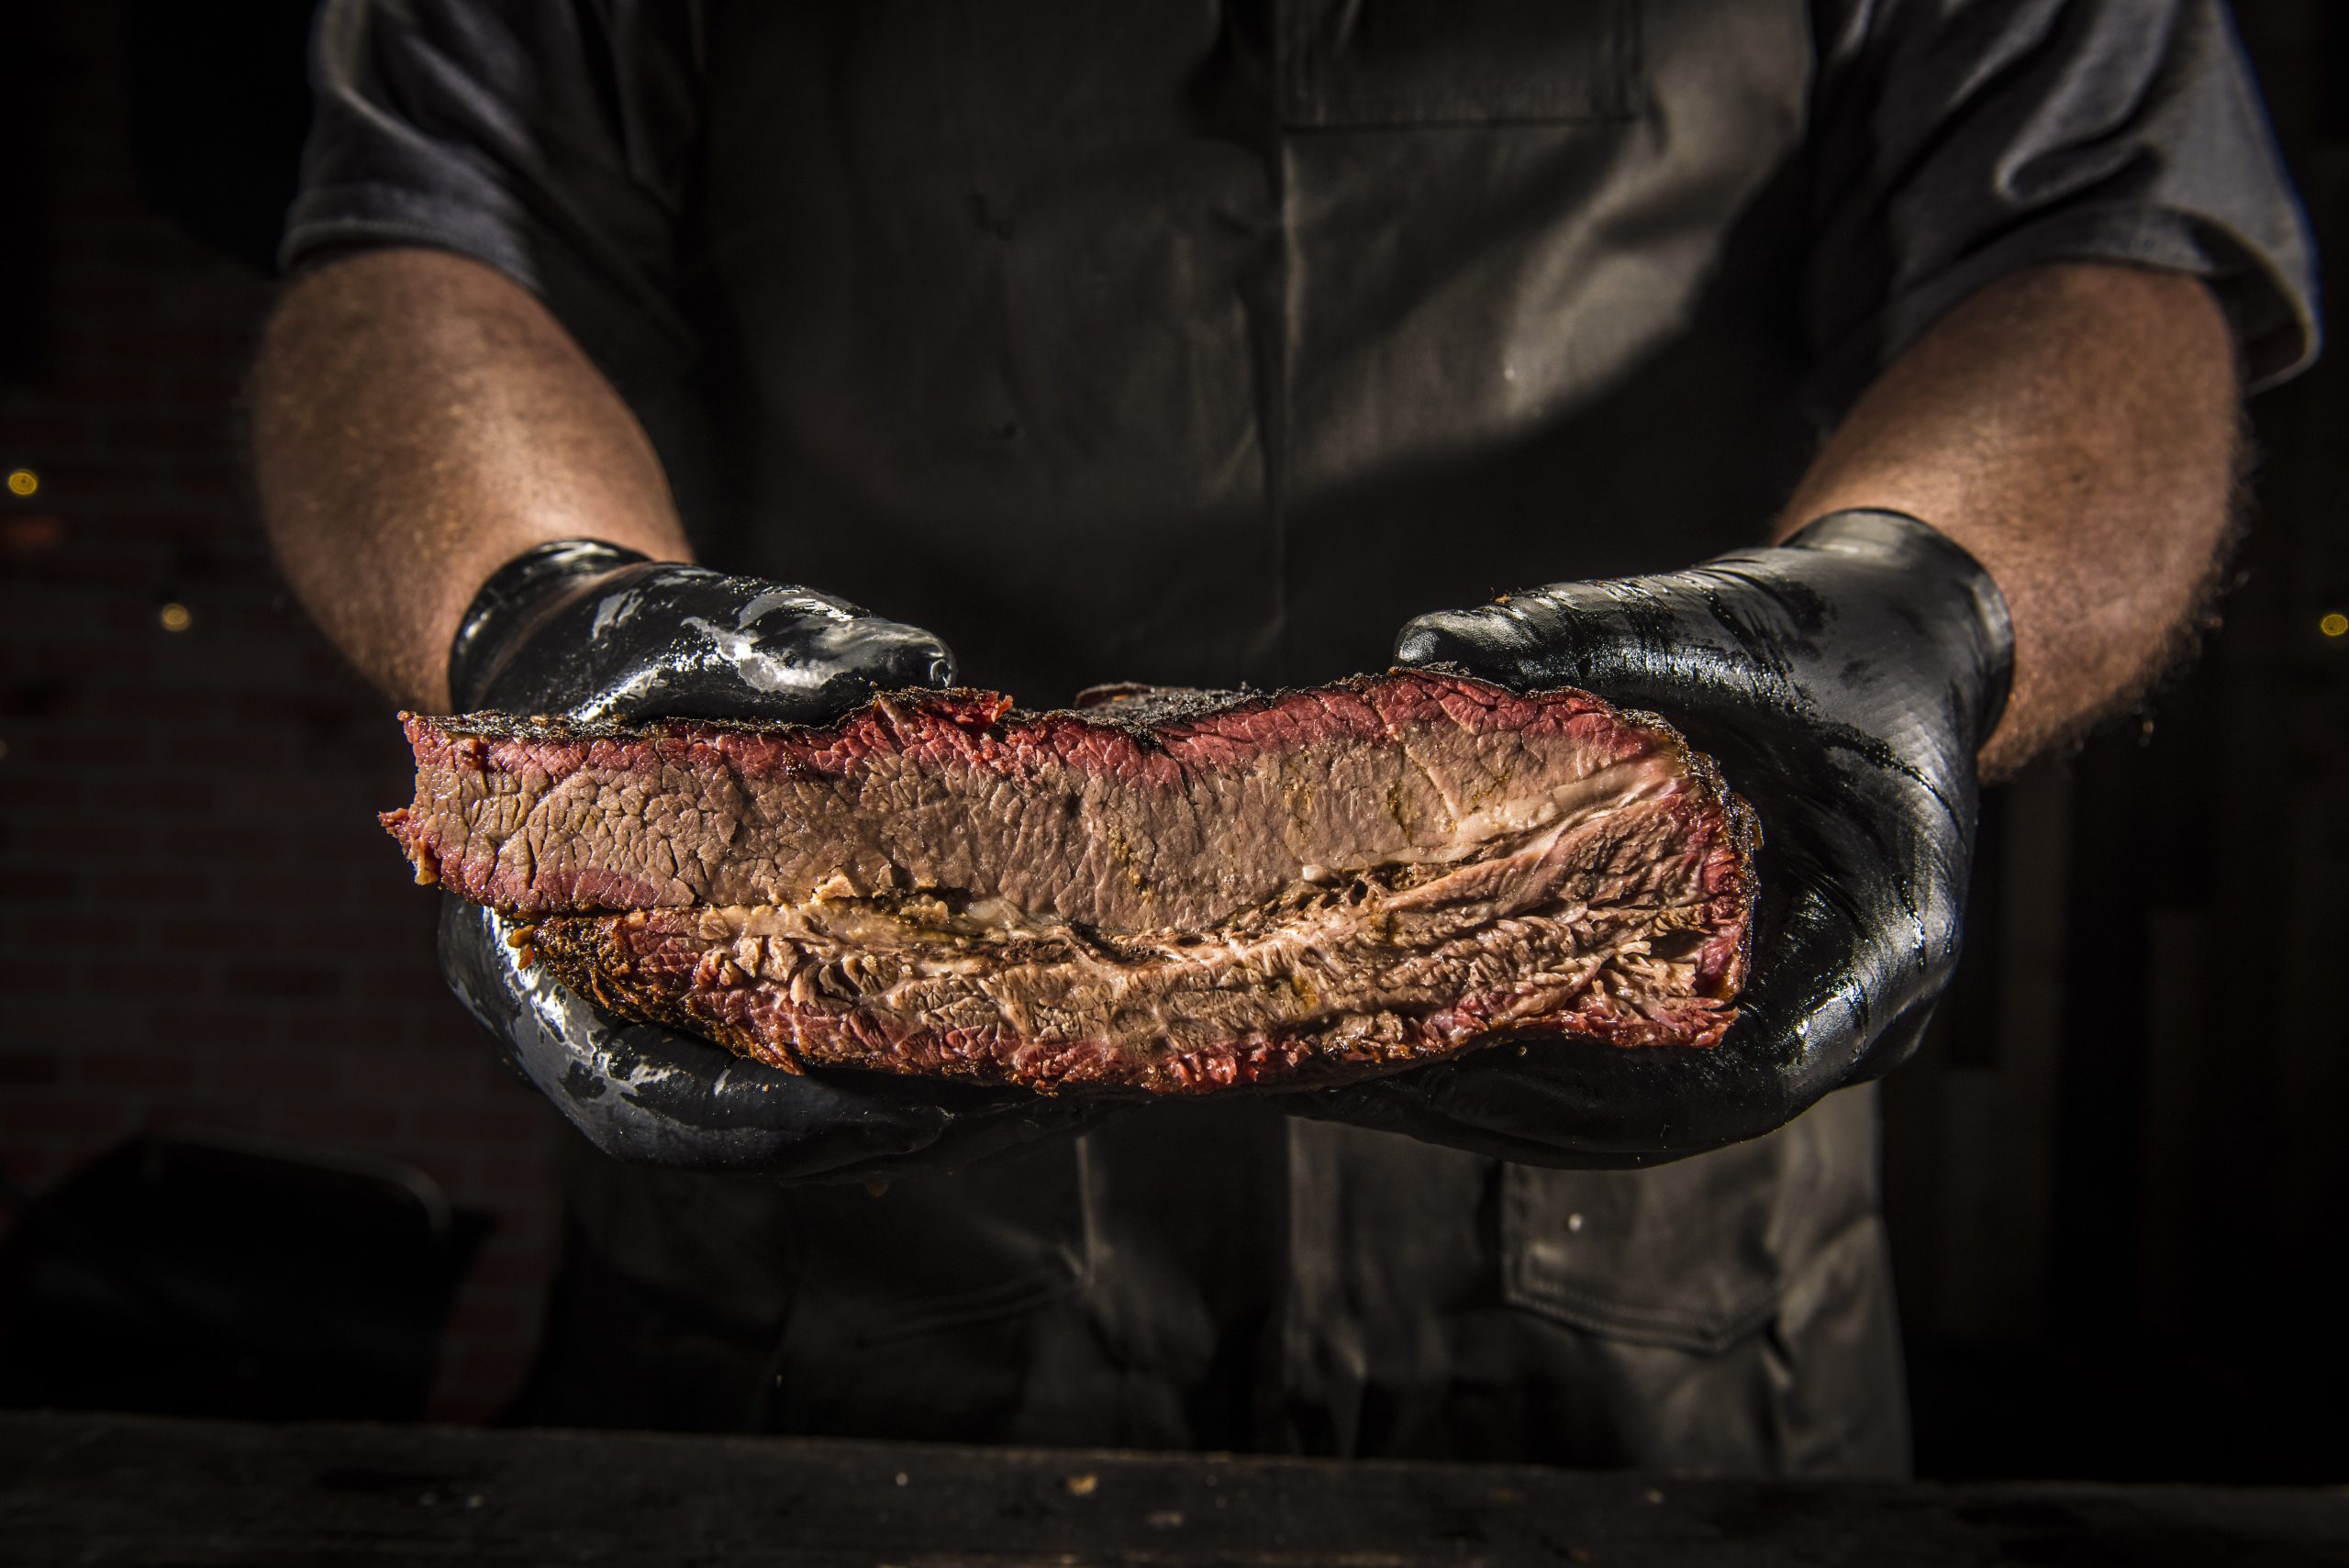
From low-and-slow smoked brisket to burgers, wings, pizza, steaks, and even desserts, a Traeger can handle a wide variety of cooking styles.
Benefits of Cooking on a Traeger Pellet Grill
Consistent Temperatures
One of the biggest advantages of Traeger pellet grills is temperature consistency. Simply set your desired cooking temperature and let the grill do the work.
Benefits include:
- Consistent cooking temperatures
- Fewer flare-ups
- Less monitoring throughout the cook
- More predictable results
Incredible Wood-Fired Flavor
Traeger hardwood pellets add rich smoke flavor that enhances every meal.
Different pellet varieties can help complement:
- Beef
- Pork
- Poultry
- Seafood
- Vegetables
- Baked goods
The result is authentic wood-fired flavor without the hassle of managing a traditional wood fire.
Versatility for Every Meal
Traeger pellet grills can do much more than grill.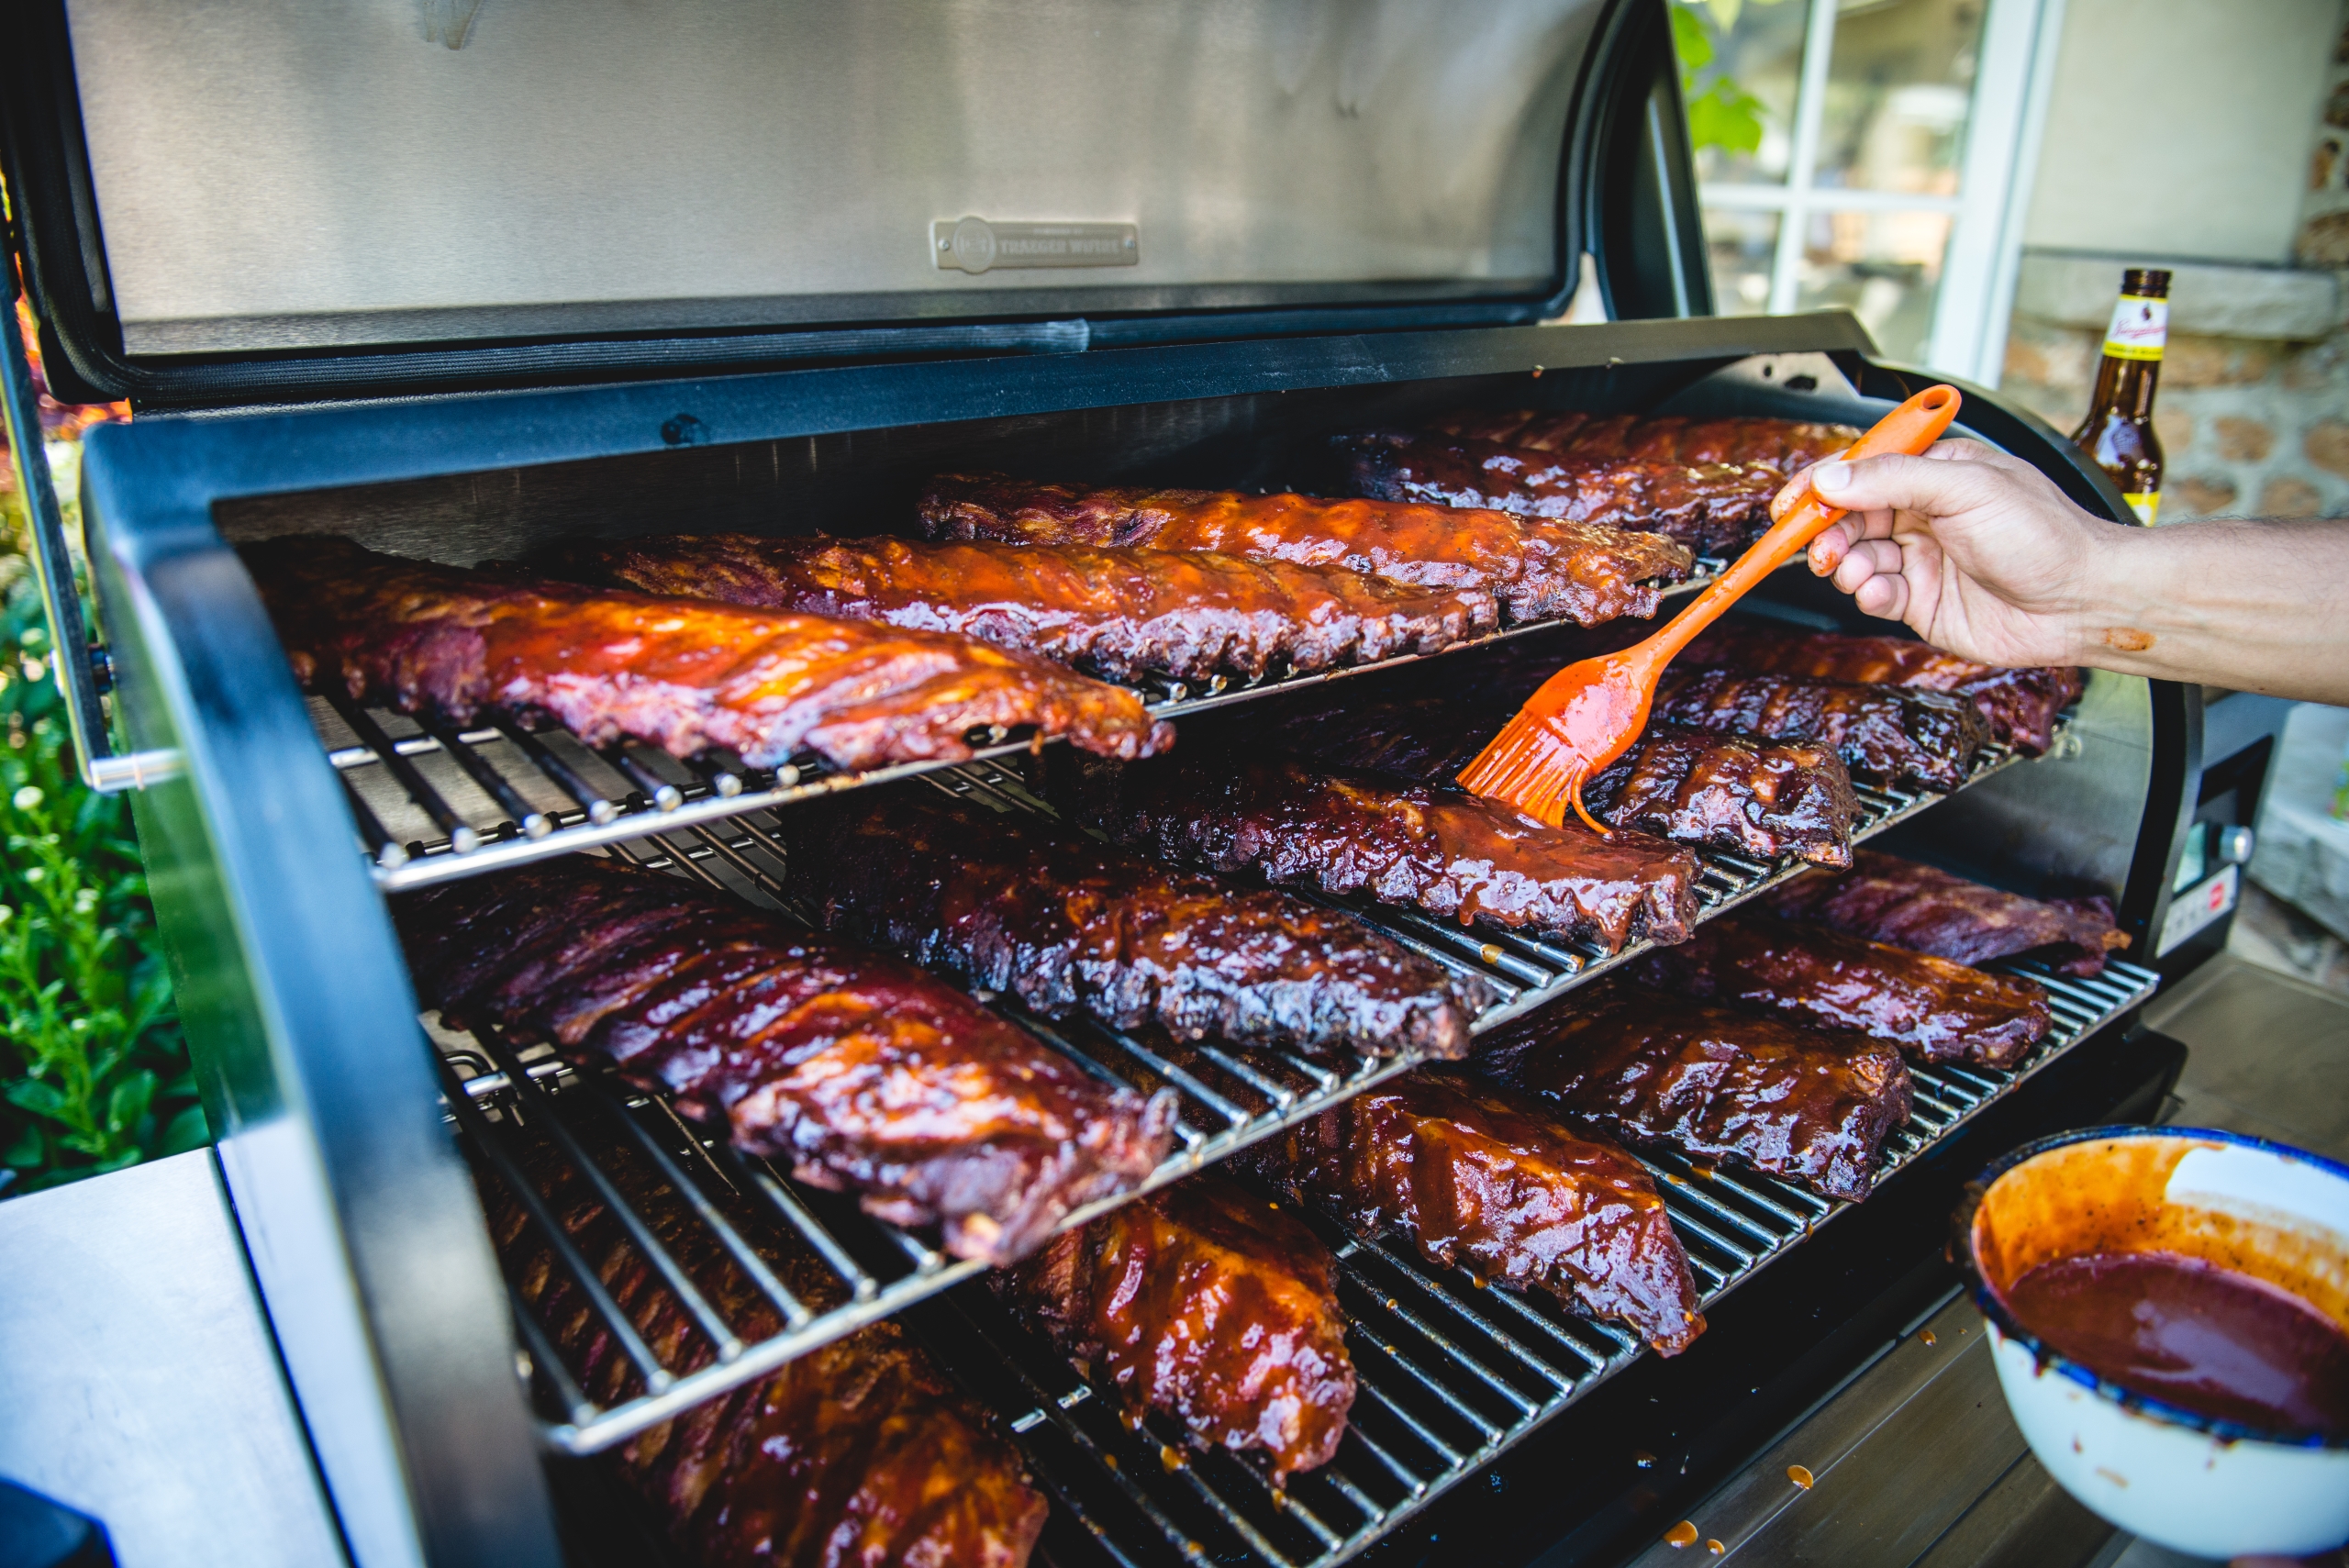
Many customers use their Traeger to:
- Smoke
- Grill
- Roast
- Bake
- Braise
- Barbecue
Whether you’re cooking ribs for a summer barbecue or pizza for a family dinner, a Traeger can handle the job.
Easy to Use
Traeger grills are designed to be user-friendly while still delivering impressive results.
Many models include features such as:
- Digital temperature controls
- WiFIRE technology
- Smartphone monitoring and control
- Guided cooking features
These tools make it easier to enjoy the cooking process and spend more time with family and friends.
Cleaner Cooking Experience
Compared to traditional charcoal grills, pellet grills generally produce less ash and require less cleanup.
Many customers appreciate:
- Easier cleanup
- Less mess
- Efficient pellet usage
- Simple maintenance
Why Buy Your Traeger from Burns Feed Store?
At Burns Feed Store, we don’t just sell Traeger pellet grills. We use them ourselves and help customers get the most from their outdoor cooking experience.
As a Traeger Platinum Dealer for more than 20 years, we’ve helped thousands of customers choose the right grill, pellets, rubs, sauces, and accessories for their needs.
When you shop local with Burns Feed Store in Gresham, Oregon, you’ll find:
- Expert product recommendations
- Access to top Traeger grill models
- Premium hardwood pellets
- Rubs, sauces, and grilling accessories
- Ongoing support from a knowledgeable team
We take the time to answer questions, explain features, and help you find the right setup for your cooking style and budget.
Ready to Upgrade Your Outdoor Cooking?
There’s a reason Traeger pellet grills continue to be a favorite among backyard cooks. Their combination of wood-fired flavor, versatility, and ease of use makes them a great choice for everything from weeknight dinners to special occasions.
If you’ve been considering a new grill, stop by Burns Feed Store in Gresham, Oregon and see our selection of Traeger pellet grills, hardwood pellets, seasonings, sauces, and accessories.
Our team is happy to help you find the right Traeger pellet grill so you can enjoy delicious wood-fired cooking all year long.